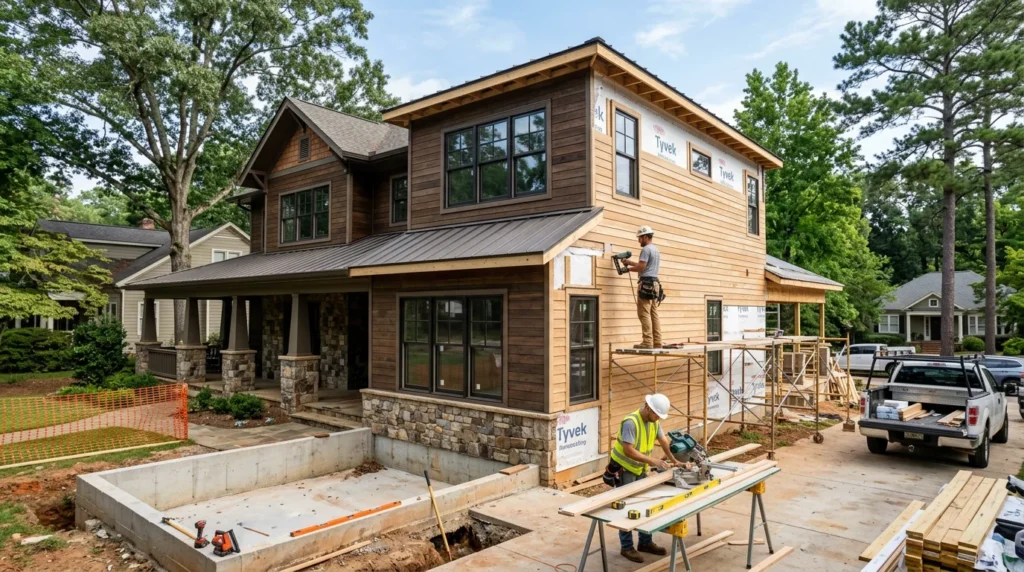
Quick answer: Plan an Athens, GA home addition by defining the exact rooms and functions you need, then confirming basic feasibility (setbacks, lot limits, utilities) with Athens-Clarke County before design gets too far. Build a written scope with clear inclusions, allowances, and a change-order process, and lock major selections early. A rule-of-thumb contingency of 10%–20% helps cover hidden conditions and plan changes.
Start With The Right Scope And A Site Reality Check
A good addition starts with a blunt inventory of what you need the space to do: extra bedroom, larger kitchen, in-law suite, sunroom, or a new primary suite. Sketch the must-haves (closet, bath, laundry, storage) and the deal-breakers (stairs, noise, privacy). That scope drives everything else—foundation type, roof tie-in, plumbing runs, and how disruptive construction will be.
Next comes the site reality check: where the addition can physically go and how it connects to the existing house. In Athens-Clarke County, setbacks, lot coverage, easements, and stormwater rules can limit placement, but the specifics vary by parcel and zoning. Verify the basics with ACC planning/building before you fall in love with a layout, and talk through options with a builder familiar with home additions Athens GA. A quick look at grading, driveway location, and utility routes often prevents expensive redesigns.
Inside the house, identify what you’re tying into—floor height, ceiling height, roof slope, and load-bearing walls. If you’re opening exterior walls or removing structural elements, plan on engineered details. That’s normal, and it’s cheaper to plan for it than to discover it mid-demo.
A Practical Planning Checklist (What To Do, In Order)
1) Call ACC planning/building first. Ask what zoning district you’re in, typical setback/lot limits that may apply, and what permits are commonly required for additions. Also ask if your property has any overlays or special constraints that can affect placement or exterior changes.
2) Gather your starting documents. Many homeowners begin with a recent survey/plat (or order one if you don’t have it), basic photos of all sides of the house, and any prior plans you can find. Pull together a “wish list” with room sizes, storage needs, and a target finish level (basic, mid-level, high-end) so quotes aren’t based on guesses.
3) Lock key decisions early. Before final pricing, decide: addition footprint/location, number of bathrooms or kitchens (wet areas drive cost), window/door sizes, ceiling height, and HVAC approach. Before ordering, lock long-lead items like windows and exterior doors, custom cabinets, certain tile, and specialty fixtures. As a general rule-of-thumb, carry a 10%–20% contingency for hidden conditions and owner-driven changes.
Budget And Timeline: What Usually Blows Up First
Most “surprises” come from decisions made late. The big budget drivers are square footage, foundation complexity (crawlspace vs. slab), roof tie-in, number of wet areas (kitchens/baths), window/door packages, and finish level. A typical range is wide because a simple bump-out and a full second-story addition are different animals. Ask for an estimate that separates structure, mechanicals, and finishes so you can see where upgrades actually land.
Timeline surprises usually come from permitting lead times, special-order materials, and the sequence of inspections. Additions also uncover hidden conditions—things you can’t see until walls or floors open up—like water damage around old windows, termite-damaged framing, undersized headers, outdated wiring that can’t be extended as-is, or plumbing that’s not vented correctly. Build a cushion into your schedule for discovery work, and decide ahead of time how you’ll handle it—fix to code, fix to match, or replace more broadly.
Change orders are the other common budget leak. Lock in key selections early (windows, flooring, tile, cabinetry, fixtures) and confirm what is included: painting, trim profiles, hardware, appliance hookups, and debris removal. “Included” should be written, not assumed.
Scope Document Must-Haves To Prevent Surprise Costs
A solid scope document is your best defense against “I thought that was included.” It should list line-item inclusions (demo, framing, roofing, siding, insulation, drywall, trim, paint, flooring, electrical, plumbing, HVAC, cleanup) and explicit exclusions (for example: landscaping restoration, driveway work, window coverings, appliances, or moving furniture), so there’s no gray area.
Require clear definitions for allowances: the dollar amount included, what it covers (materials only vs. material + labor), and what happens if you choose above or below that number. The scope should also spell out the change-order process (written description, price/time impact, and approval before work proceeds) and who carries inspection responsibility (who schedules, who is present, and who pays for re-inspections if corrections are needed).
If you want help scoping, planning, and building an addition that fits your home and your lot, Tipton’s Fine-Tuned Carpentry can walk you through the next steps.