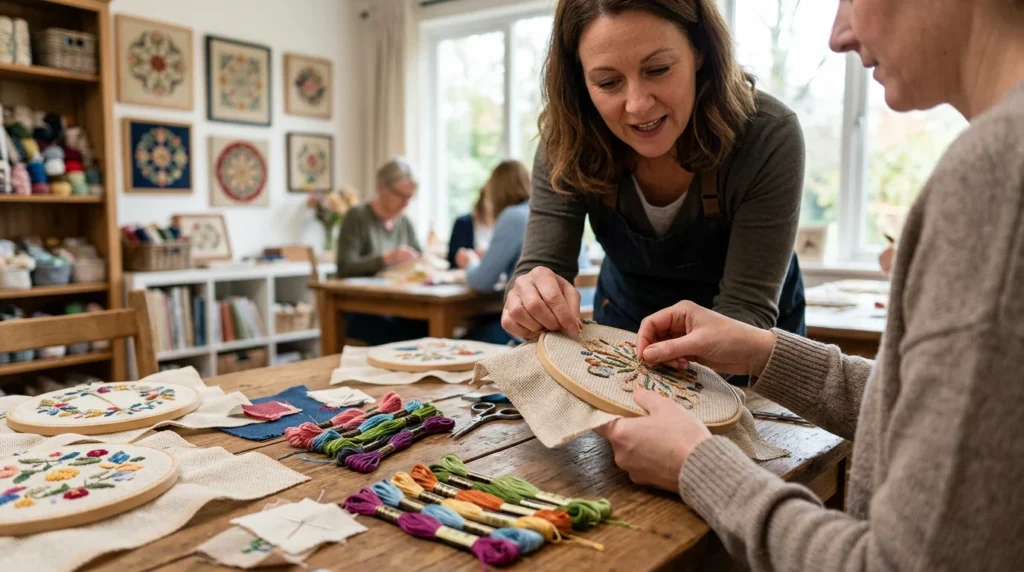
Quick answer: A decorative needlepoint stitch class teaches you how to read stitch diagrams, place stitches cleanly on canvas, and choose threads that behave well together. You’ll practice a set of textured and patterned stitches (often beyond basic tent stitch), learn how to start and end threads neatly, and get help fixing common issues like uneven tension, twisted strands, and miscounted repeats.
What You’ll Learn (And What to Bring)
A good decorative needlepoint stitch class focuses on control and confidence: how to keep tension even, how to “park” your needle so stitches lie in the same direction, and how to follow a chart without losing your place. Most classes include a sampler area or a small motif so you can try multiple stitches—think mosaics, cashmere variations, Scotch stitch families, and simple pulled or wrapped effects—without committing to a full canvas right away.
Bring whatever you’re already working on if the class allows it, plus your usual tools: scissors, laying tool (or a spare tapestry needle you can use to lay threads), and good lighting if you prefer a specific lamp. If you’re choosing threads for class, pick a mix with different personalities: a smooth cotton or silk for definition, a wool or wool blend for coverage, and one specialty thread (metallic, ribbon, or fuzzy) so you can learn handling techniques without fighting your whole palette.
Expect to spend time on “invisible” skills, too: starting threads without bulky knots, ending threads so they don’t creep out later, and carrying threads only when it won’t shadow through the canvas. Those habits make decorative stitches look crisp instead of crowded.
How to Pick Stitches That Fit Your Canvas
Decorative stitches aren’t just for showing off—they solve problems. A larger stitch can cover open background faster, a tighter pattern can stabilize a detailed area, and a directional stitch can push the eye toward a focal point. In class, ask how a stitch changes with scale: many patterns look great over 4–6 threads but get clunky if you stretch them wider without adjustments.
Matching the stitch to the canvas mesh and thread size matters. If you’re on 18-mesh canvas, a typical range is one strand of a stranded cotton, one strand of a silk, or a light wool; on 13-mesh, you’ll often need a thicker wool or multiple strands for full coverage. You’ll also learn where not to use certain stitches—bulky patterns near lettering, or highly raised stitches where framing glass might press.
Color planning comes up quickly. Alternating two close values can create texture without stealing attention from the main design, while high-contrast patterns belong in borders or background areas meant to sparkle.
Common Problems the Teacher Can Fix Fast
Classes shine because someone can spot issues you may not see. Uneven tension shows up as wavy rows, “smiling” intersections, or background that looks tighter on one side. Twisted thread is another big one—if your strands rope up, the stitch loses shine and coverage. A teacher can show you how often to drop the needle and let it untwist, and how to use a laying tool so flat threads stay flat.
Counting errors happen even to careful stitchers. If a repeat suddenly doesn’t fit, you’ll learn how to backtrack without shredding thread, and how to “cheat” gracefully by absorbing an extra thread in a border or shifting a compensation stitch where it won’t be noticed. You can also get guidance on compensation stitches around curves and edges so patterns don’t look chopped off.
If you want hands-on help choosing stitches that suit your canvas and your comfort level, ask Blue Willow Needlepoint.